Impersonation scams involve fraudsters pretending to be from trusted organizations or individuals to steal personal information or money. These scams can start with a phone call, text, email, or message that appears to be from a legitimate source, such as a bank, government agency, or well-known business.
Common tactics include posing as a legitimate representative and claiming there is an urgent issue with your account, such as a security breach or unauthorized transaction. Scammers may also use caller ID spoofing to make it appear as if the call is coming from a trusted organization. They might have information about you, like your full name or address, which can make the scam seem more convincing.
To protect yourself, avoid giving out any information, especially passwords, PINs, or verification codes. Be wary of aggressive or urgent language and unusual requests. If you receive a call or message that seems suspicious, hang up and contact the organization directly using a verified phone number or website.
Phishing is a common type of cyber attack that targets individuals through email, text messages, phone calls, or any form of communication. A phishing attack aims to trick the recipient into falling for the attacker’s desired action, such as revealing financial information, system login credentials, or other sensitive information. Many are used to confirm an email address or a telephone number.
As a popular form of social engineering, phishing involves psychological manipulation and deception whereby threat actors masquerade as reputable entities to mislead people into performing specific actions. These actions often involve clicking links to fake websites, downloading and installing malicious programs, or divulging private information, like name, address, bank account numbers or credit card details.
Since the mid-1990s, the term “phishing” has been used to identify hackers who use fraudulent emails to “fish for” information from unsuspecting users. However, phishing attacks have become increasingly sophisticated and are now broken down into different types, including email phishing, spear phishing, smishing, vishing, and whaling. Each type is characterized by specific channels and methods of execution – email, text, voice, social media, etc. – all with a similar underlying intentions.
Microsoft Copilot is a generative artificial intelligence chatbot developed by Microsoft, designed to assist users with various tasks and enhance productivity. It integrates with multiple Microsoft applications and services, such as Windows, Microsoft 365, and GitHub, to support user efficiency and productivity.16 Copilot utilizes the Microsoft Prometheus model, which is built upon OpenAI’s GPT-4 foundational large language model and has been fine-tuned using supervised and reinforcement learning techniques.1 The chatbot can generate content, offer suggestions, and automate tasks, and it supports features like creating poems, generating songs, and using numerous languages and dialects.
This module explores the intricacies of Microsoft 365 Copilot, offering insights into its functionality and Microsoft’s dedication to implementing AI responsibly and ethically.
Discover ways to prompt Microsoft 365 Copilot in Word, PowerPoint, Teams, and Outlook to ask, analyze, and receive recommendations for fresh ideas and content. Whether you need specific information, comparative analysis, or helpful suggestions, Copilot is your goto tool.
This learning path examines the Microsoft 365 Copilot design and its security and compliance features, and it provides instruction on how to implement Microsoft 365 Copilot.
This Learning Path enables students to perform a series of Use Case exercises that build their Microsoft 365 Copilot skills in various business-related scenarios. Use cases include Executives, Sales, Marketing, Finance, IT, HR, and Operations.
To start voice dictation in Windows 11, you can press the Win+H keys together to open the Voice typing tool. Alternatively, you can go to Settings > Accessibility > Speech, and turn on the switch for Windows Speech Recognition. Once enabled, you can click the microphone icon to start dictation in any application where you can type text.
This article is for people who want to control their PC and author text using their voice with Windows. This article is part of the Accessibility support for Windows content set where you can find more information on Windows accessibility features. For general help, visit Microsoft Support home.
Voice access is a feature in Windows 11 that enables everyone to control their PC and author text using only their voice and without an internet connection. For example, you can open and switch between apps, browse the web, and read and author email using your voice. For more information, go to Use voice access to control your PC & author text with your voice.
Voice access is available in Windows 11, version 22H2 and later. For more information on Windows 11 22H2 new features, and how to get the update, see What’s new in recent Windows updates. Not sure which version of Windows you have? See: Find Windows version.
Dictate punctuation marks
To insert this
Say this
.
“Period” “Full stop”
,
“Comma”
?
“Question mark”
!
“Exclamation mark” “Exclamation point”
‘s
“Apostrophe-s”
:
“Colon”
;
“Semicolon”
” “
“Open quotes” “Close quotes”
–
“Hyphen”
…
“Ellipsis” “Dot dot dot”
‘ ‘
“Begin single quote” “Open single quote” “End single quote” “Close single quote”
To determine if Apache Log4j is installed on your system, you can use a combination of manual and automated methods. For Linux servers, you can run a command to search for files related to Log4j:
find / -type f -name log4j*
This command will list all files containing “log4j” in their names, which can help identify if Log4j is installed on your server.8
For Windows servers, you can use a similar approach by searching for files containing “log4j” in their names:
dir C:\*log4j*.jar /s
This command will search for files with “log4j” in their names in the C: drive and its subdirectories.3
Automated tools can also be used to scan for Log4j installations. One such tool is Syft, which can create a software bill of materials (SBOM) and help identify old Log4j versions:
syft dir:/ | grep log4j
This command will scan your server and search for Log4j files.3
Additionally, you can use a Python script or a Go package like log4jscanner to scan your system for vulnerable Log4j versions.43
Since Log4j is a Java library, it may be embedded within other Java applications, making it harder to detect. Therefore, it’s important to check all Java applications running on your system and consult their vendors for any dependencies on Log4j.3
For a more thorough check, you can also manually inspect the manifest files within JAR files to confirm the version of Log4j installed.3
Remember, these methods may not be foolproof, as Log4j can be embedded within other JAR files or applications. Therefore, it’s crucial to follow up with vendor advisories and ensure all applications are updated to the latest versions.
Trend Micro has identified Earth Preta, also known as Mustang Panda, as the Chinese hacking group using Microsoft’s Application Virtualization Injector to bypass antivirus defenses by injecting malicious code into legitimate processes. Earth Preta has been focusing most of its attacks on systems in Taiwan, Malaysia and Vietnam.
Creating a cyber risk communication document involves several steps to ensure that all stakeholders are informed effectively about potential risks and how to mitigate them.
Here’s a structured approach based on the provided context:
Identify the Audience: Determine who the document is for, such as executives, board members, employees, or clients. Tailor the language and level of detail to suit each audience’s needs and understanding.
Gather Information: Collect data on current risks, threat landscapes, and any ongoing or past incidents. Include details on the organization’s cybersecurity posture and any existing controls or measures in place.
Structure the Document: Organize the information logically. Start with an executive summary that highlights key risks and recommendations. Follow with detailed sections on each risk, including its potential impact, likelihood, and proposed mitigation strategies.
Use Clear and Concise Language: Avoid technical jargon that might confuse non-technical stakeholders. Present information in a way that is easy to understand and actionable.
Include Visual Aids: Use graphs, charts, and other visual aids to make complex information more accessible. For example, a proximity resilience graph can help illustrate the organization’s resilience against specific threats and risk impacts.
Provide Context: Explain why each risk is significant and how it could affect the organization. This helps stakeholders understand the urgency and importance of addressing the risks.
Recommend Mitigation Strategies: Offer specific steps that can be taken to reduce the likelihood or impact of identified risks. Include both immediate actions and long-term strategies.
Review and Update Regularly: Cyber threats evolve rapidly, so the document should be reviewed and updated regularly to reflect new risks and changes in the threat landscape.
Communicate Proactively and Reactively: In addition to the document, maintain regular communication channels to keep stakeholders informed about ongoing risks and any new developments. This could include regular updates, incident alerts, and educational content.
Test the Plan: Conduct regular drills and simulations to test the effectiveness of the communication plan and make necessary adjustments.
Creating a GRC (Governance, Risk, and Compliance) template involves several steps to ensure it aligns with organizational goals and needs. Here’s a guide based on the provided context:
Define Objectives and Scope: Clearly define the objectives and scope of your GRC framework. This includes understanding the potential benefits of a successful GRC framework, such as better alignment between departments and broader business goals, ensuring all types of risk have mitigating processes in place, and faster decision-making surrounding business processes and procedures.3
Identify Stakeholders: Engage all relevant stakeholders to ensure their needs and concerns are addressed. This includes aligning executive team members with vital factors such as budget and roll-out timelines.3
Assess Existing GRC Processes: Evaluate your current GRC processes to identify what is working and what needs improvement. This helps in pinpointing what processes should be retained and which should be removed to streamline the framework.3
Design the Template: Use a template that includes the three main components of GRC: governance, risk management, and compliance. Ensure the template is easy to understand and use. A template with a circular theme, presenting four nodes and their interactions, can be effective.24
Customize the Template: Customize the template to fit the specific needs of your organization. This may involve modifying text areas, shapes, and colors to better represent your GRC strategy.2
Implement and Communicate: Implement the GRC framework and communicate the changes to all relevant teams. Provide regular updates and a transparent process for feedback to ensure smooth adoption.3
Review and Refine: Continuously review and refine the GRC framework based on feedback and changing organizational needs. This ensures the framework remains effective and relevant.3
By following these steps, you can create a comprehensive and effective GRC template that aligns with your organization’s goals and enhances its governance, risk management, and compliance efforts.
Want to type using your voice? Just select WIN + H to open voice typing — great for long form text, or just if you have a word you can’t spell. Learn more about how to use it ❯
With voice typing, you can enter text on your PC by speaking. Voice typing uses online speech recognition, which is powered by Azure Speech services.
How to start Voice Typing
To use voice typing, you’ll need to be connected to the internet, have a working microphone, and have your cursor in a text box.
Once you turn on voice typing, it will start listening automatically. Wait for the “Listening…” alert before you start speaking.
To turn on voice typing:
Press Windows logo key + H on a hardware keyboard
Press the microphone key next to the Spacebar on the touch keyboard
To stop voice typing:
Say a voice typing command like “Stop listening”
Press the microphone button on the voice typing menu
Note: Press Windows logo key + Alt + H to navigate through the voice typing menu with your keyboard.
Install a Language
You can use a voice typing language that’s different than the one you’ve chosen for Windows. Here’s how:
Select Start > Settings > Time & language > Language & region.
Find Preferred languages in the list and select Add a language.
Search for the language you’d like to install, then select Next.
Select Next or install any optional language features you’d like to use. These features, including speech recognition, aren’t required for voice typing to work.
You may think of PowerShell as the command-line interface and scripting language on Windows, did you know that you can use it on Linux? Here’s how to take advantage of cross-platform commands and scripting
PowerShell is a command and scripting language created by Microsoft to replace the old Command Prompt. While it’s primarily associated with Windows, as part of the company’s continuing attempts to make pigs fly, they’ve made it available for Linux.
PowerShell can be used like any other shell in Linux to launch commands and to write scripts. While it has verbose commands by default, it understands common aliases like “ls” in Linux and “dir” in Windows to list a directory. It’s also object-oriented instead of relying on text streams. This makes it more complicated than the traditional Unix Philosophy solution of redirecting text input and output.
Why Install PowerShell on Linux?
The reason you might want to install PowerShell on Linux is that it gives you options. Linux already has lots of scripting languages, including the classic shells like Bash as well as more advanced languages like Perl and Python.
If you primarily use Linux but might have to administer a Windows server, you might benefit from having PowerShell installed on your Linux system. Or maybe you’re more familiar with Windows. The PowerShell command line could give you an anchor while you start exploring Linux.
Installing PowerShell
How you install Powershell will depend on what Linux distro you use.
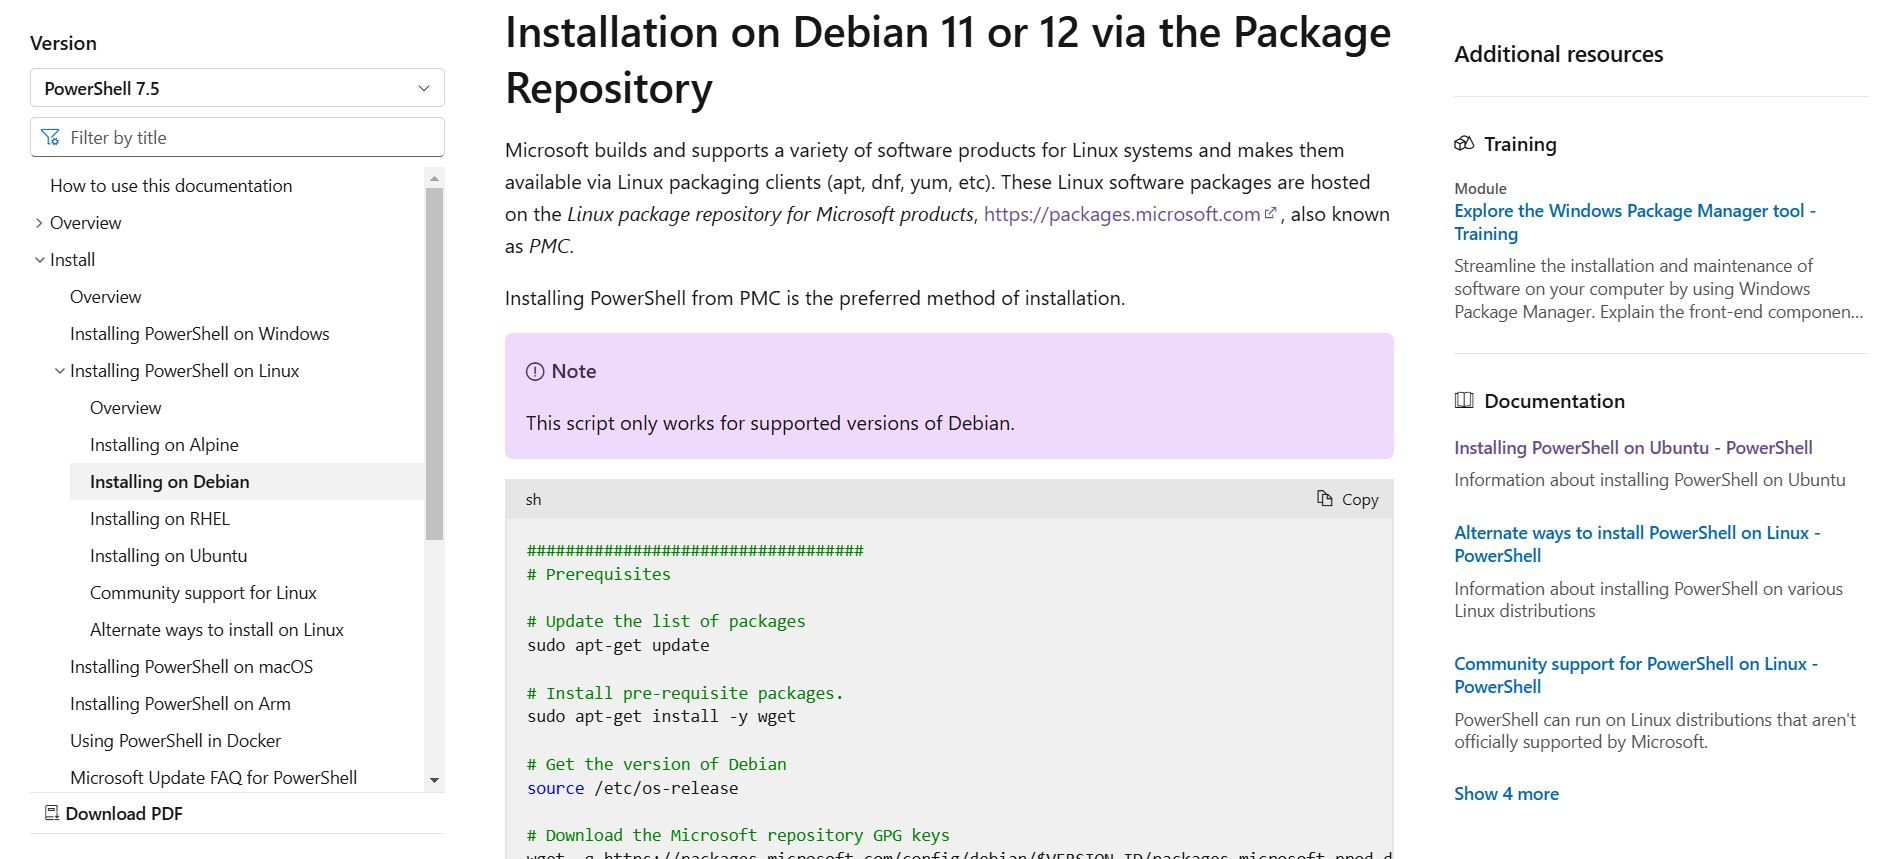
Microsoft provides its own repositories for many popular distros, including the Red Hat Enterprise Linux Family and Debian/Ubuntu
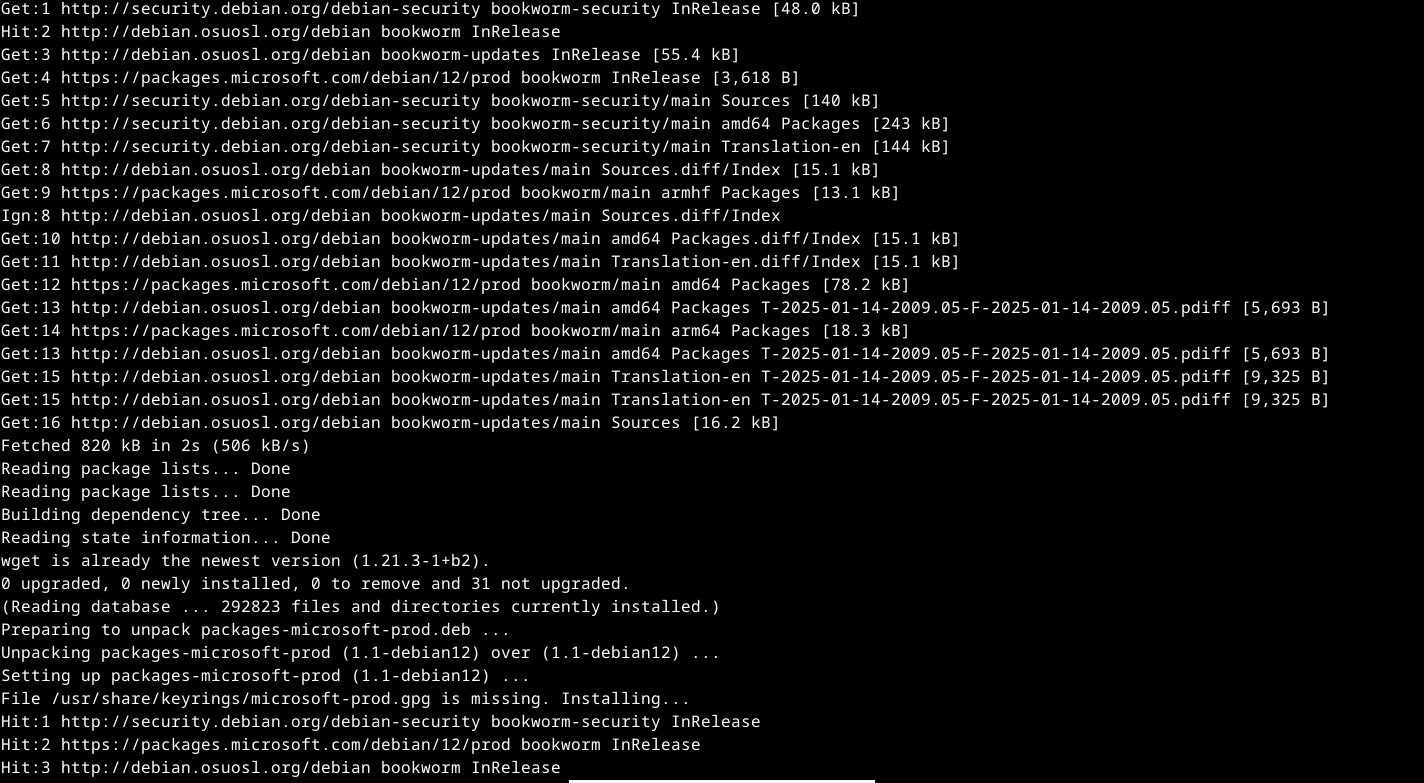
Let’s install it for Debian. Microsoft helpfully provides a script you can copy and paste. They even have a button you can click to copy it into your clipboard.
Paste the script into your terminal emulator, and it will install and run PowerShell.
Once you’ve gotten PowerShell installed you can run it. To do that, use this command:
pwsh
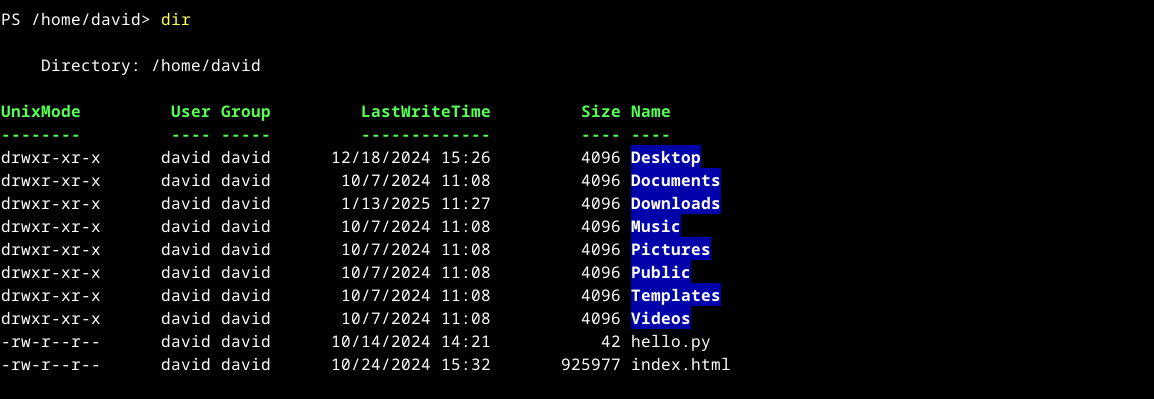
You’ll be using PowerShell interactively, as you would for your login shell. You can type regular commands into it.
The ls command works as usual, but try using the “dir” command. You’ll see something different. You’ll see something similar to the output of the ls -l option, with the Linux permissions of the files in the left-hand column, user and group information, the last modified time, and finally the name of the files.
When you’ve finished with PowerShell, type “exit” or press Ctrl+d to end your session. If PowerShell is your login shell, this will close the window. If you’re running it from another shell, this will return you to the shell you called it from.
Changing Shells to PowerShell
If you want to change the Linux shell you use when you open a terminal window to PowerShell, it’s easy to do.
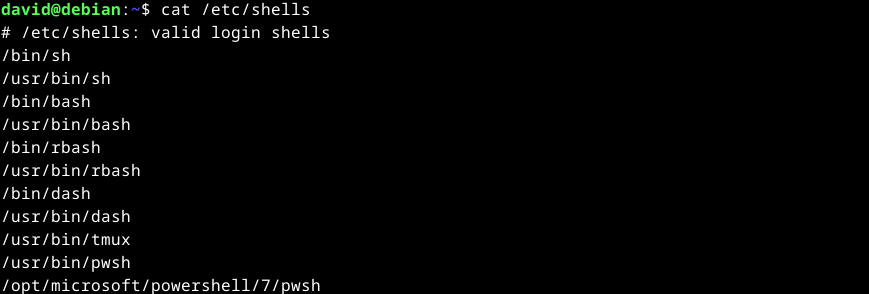
Powershell will have to be in the list of shells in the file /etc/shells. To see the list, use cat:
cat /etc/shells
You should see a line that contains “pwsh.” On this system, there are two of them: /usr/bin/pwsh and /opt/microsoft/powershell/7/pwsh. The first one seems like a better bet, since it doesn’t reference any version numbers and is less likely to break with updates.
Use the chsh command to change your login shell. You’ll need to enter your password when prompted. At the prompt, enter the pathname you want to use, in this case, /usr/bin/pwsh.
Press the Enter key and if it’s a valid shell in /etc/shells, you’ve just changed your login shell.
Log out and log back in, and start up a terminal window or virtual terminal, and you should be logged into PowerShell by default now.
If you’re writing PowerShell scripts, you can also specify Powershell by using the same paths with a shebang line. This is named because a shebang line starts with two characters: a hash (#) and an exclamation point (!), also known as a “bang.”
To call PowerShell from a script, we’ll use the same path we did earlier at the very first line in the script:
#!/usr/bin/pwsh
This should ensure that the script is run with PowerShell. You’re now ready to explore PowerShell in Linux.